Your Nordic Canyon proofing box arrives ready to use. This guide covers the first unboxing, initial calibration, and your first proofing session.
What is in the Box
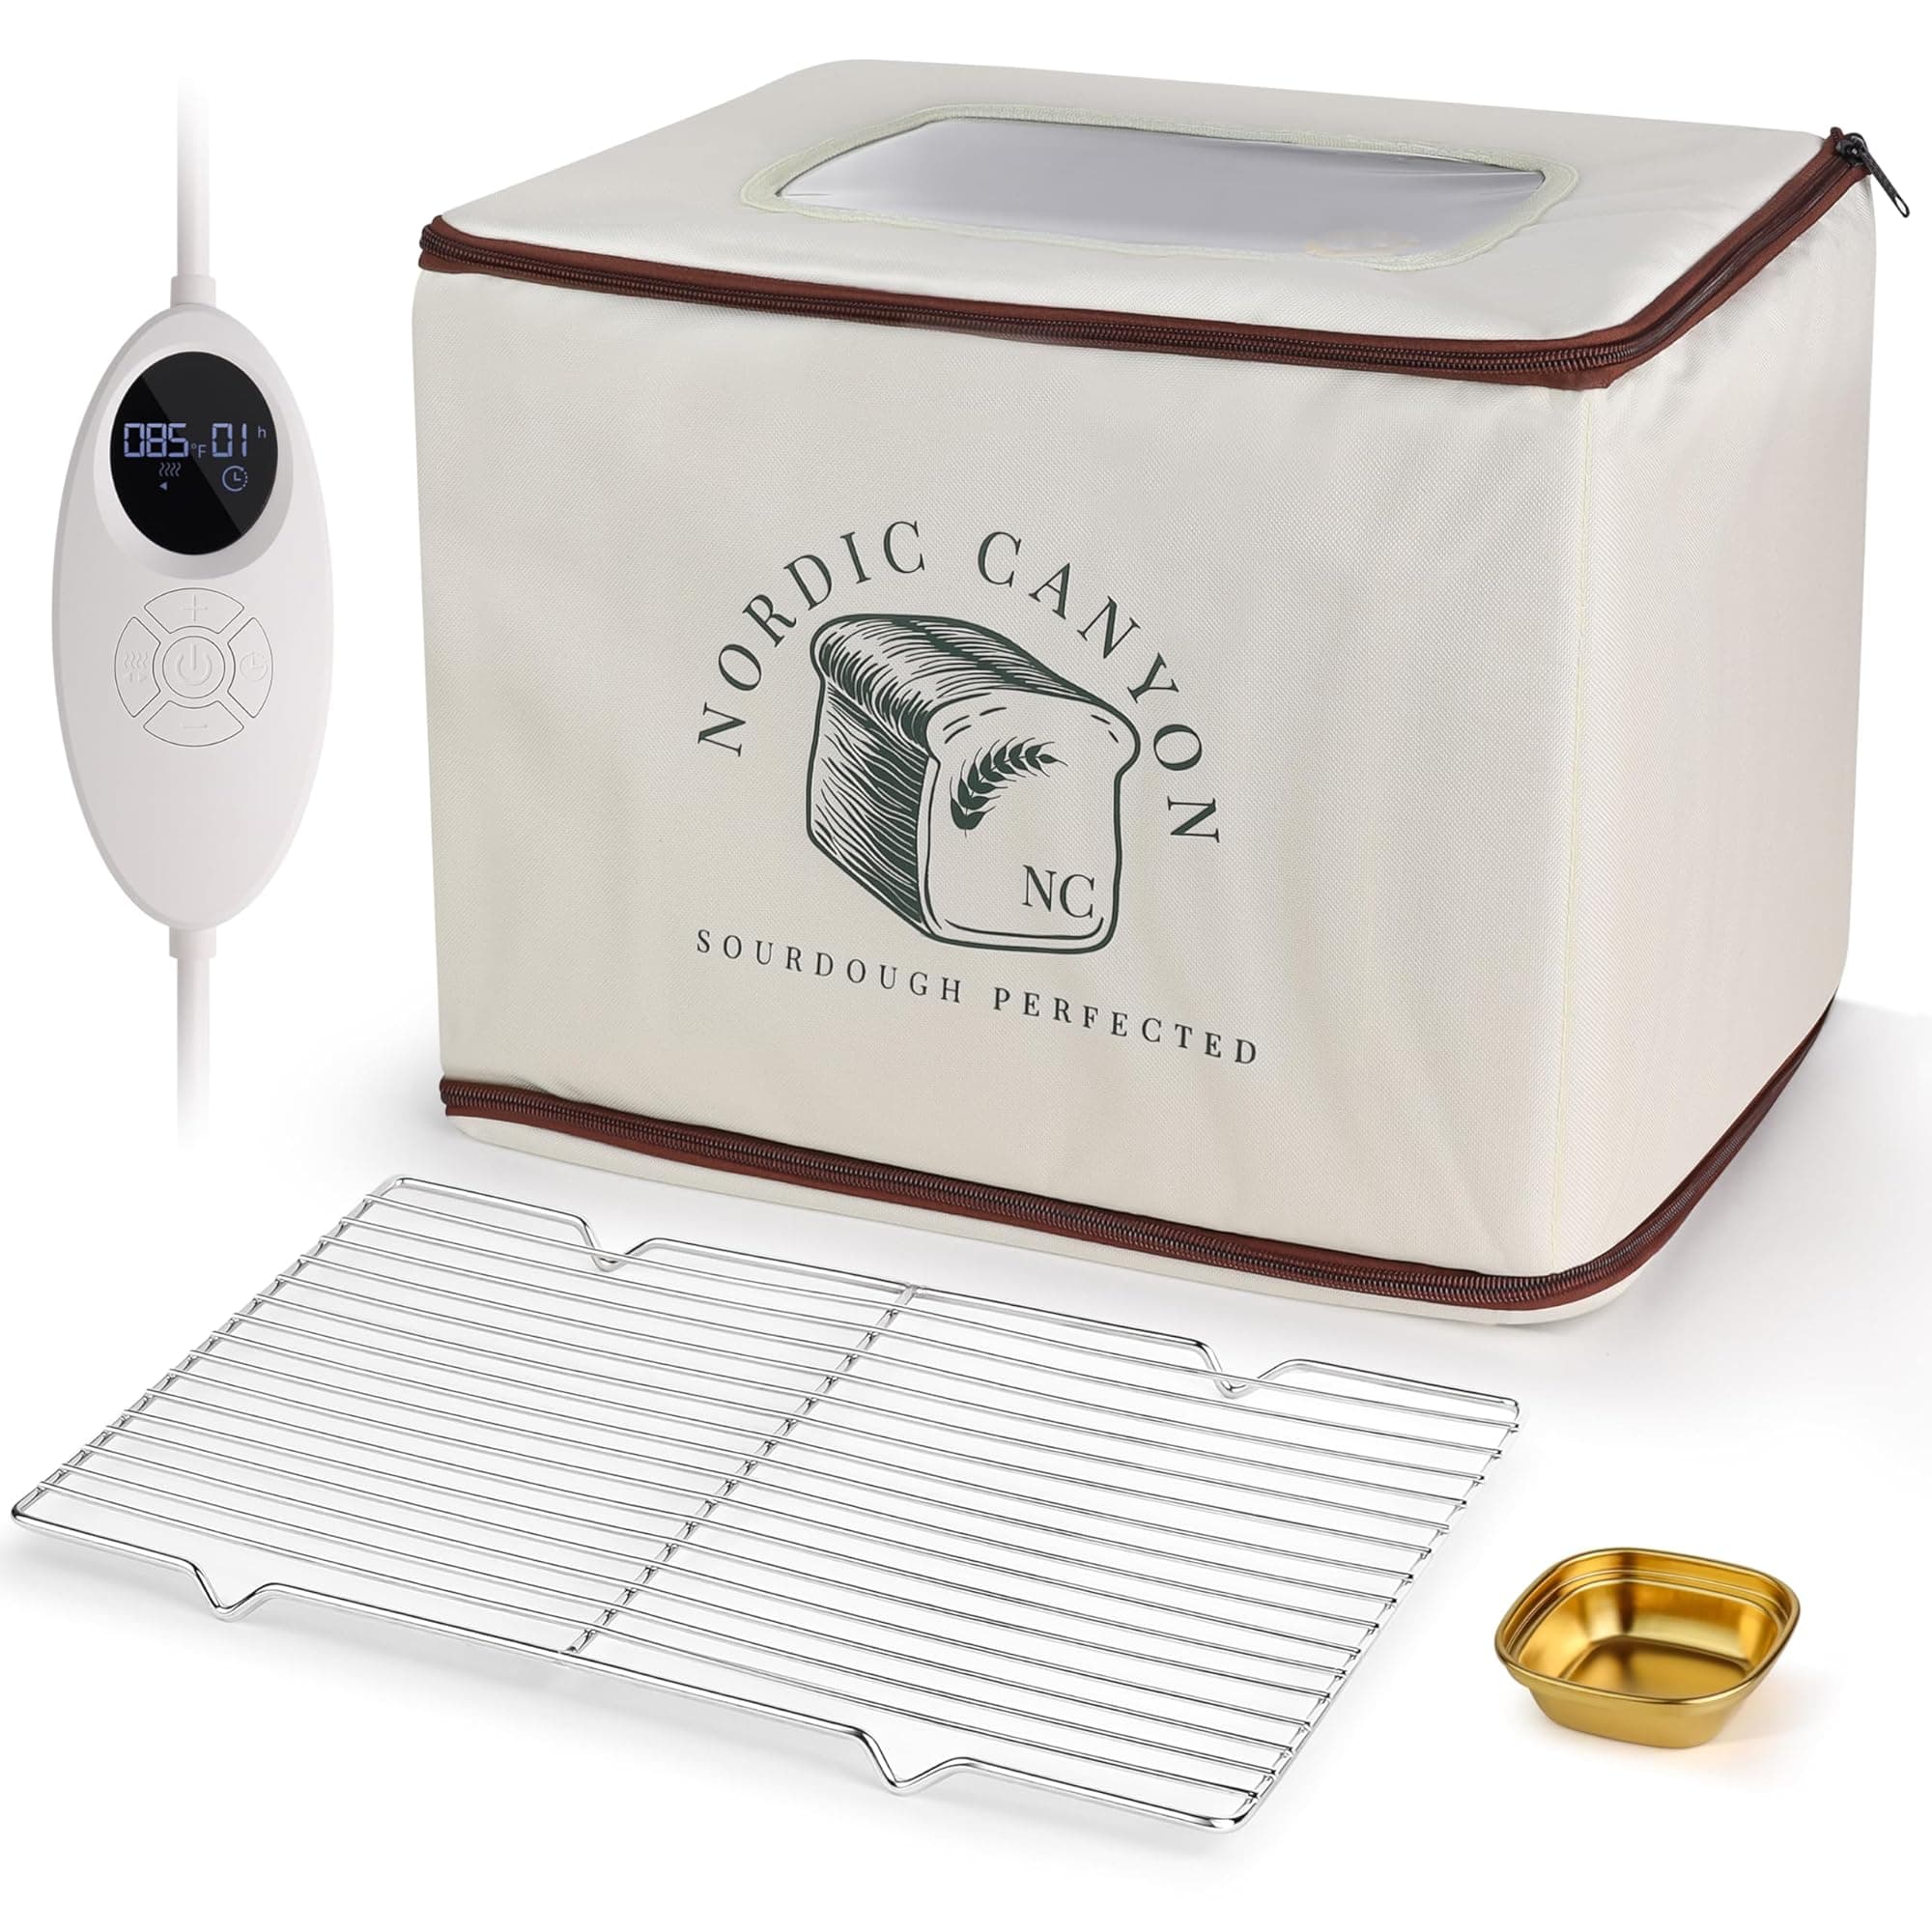
- Nordic Canyon Bread Proofing Box (collapsible body)
- Digital thermostat controller
- Stainless steel water bowl
- Wire rack
- Analog hygrometer
Keep the box dry and stored folded when not in use.
Set the box once, and it does the watching so you do not have to.
First Setup
Step 1: Unfold and assemble.
The box unfolds from its flat storage configuration into its full enclosure shape. The fold points click into position. If resistance is felt, check that the edge seams are aligned before pressing.
Step 2: Place the wire rack.
Insert the wire rack at the bottom of the enclosure. This keeps your dough container or banneton elevated above the heating element and water bowl.
Step 3: Fill the water bowl.
Fill the stainless water bowl halfway with room-temperature water. Place it inside the enclosure on the rack or beside your dough container. This creates the humidity environment your proofing dough needs.
Step 4: Connect the controller.
The digital controller connects to the heating element via the attached cable. Plug the controller into a standard outlet.
Step 5: Set your temperature.
Use the controller display to set your target temperature. For standard sourdough bulk fermentation, start with 76 F. The display shows both target and current temperature.
Step 6: Set the timer.
Set the timer for your expected proofing window. For a first session, set it to 5 hours and plan to check at 4 hours. The box will hold temperature until the timer completes, then shut off.
Monitoring Humidity
Check the hygrometer reading before closing the box and again at the halfway point of your proofing window. Target range is 65-80% relative humidity.
If the reading is low, add a small amount of warm water to the water bowl. If condensation is forming on the inside of the viewing window, the humidity is sufficient.
Safety Note
The box is rated to a maximum of 194 F and includes a safety shutoff at that temperature. For sourdough proofing, you will never approach this limit. For yogurt or other higher-temperature applications, the box operates safely up to 120 F.
Do not leave the box unattended for the first session. Once you have confirmed it holds your target temperature reliably, subsequent sessions can run unattended within the timer window.
After Each Use
Wipe the interior with a damp cloth. Rinse the water bowl and allow it to air dry. Remove the rack and rinse if flour or dough residue is present. Fold the box for storage when fully dry.
Questions? Reach us at nordiccanyon@gmail.com.